EN


How to choose durable outdoor tents for all seasons?
Choosing outdoor tents for year-round use is less about finding the thickest fabric and more about matching a shelter to the weather, campsite, and maintenance routine you actually expect. A tent that feels convincing in a dry showroom can behave very differently after wind-driven rain, a cold night, or repeated packing while damp. For campers and buyers comparing outdoor tents, a practical evaluation starts with the whole shelter system: fabric, seams, poles, vents, floor, doors, and repair access.
As an overlanding-gear evaluator would approach it, begin with the conditions that create the most stress rather than the marketing label. Four-season outdoor tents are not automatically the right choice for every trip. The useful question is whether the design can manage the mix of rain, wind, temperature swings, and moisture that your trips create.
Start with your real all-season use case
“All seasons” can mean weekend camping through spring and fall, regular wet-weather travel, or exposure to snow and sustained wind. These demand different things from outdoor tents. A mild-climate family campsite emphasizes livable space, easy ventilation, and quick setup. A remote or shoulder-season trip puts more pressure on weather protection, stable anchoring, and the ability to pack down without damaging wet materials.
Write down the likely conditions before comparing models:
- How often will the tent face overnight rain, gusts, or exposed ground?
- Will several people, wet clothing, or a pet add interior moisture?
- Do you need to pitch and pack alone, possibly in fading light?
- Will the tent spend long periods in sun, coastal air, or storage between trips?
This short brief prevents a common mistake: selecting outdoor tents by sleeping capacity alone while overlooking the stresses that affect durability.
Compare the weatherproof system, not a single fabric claim
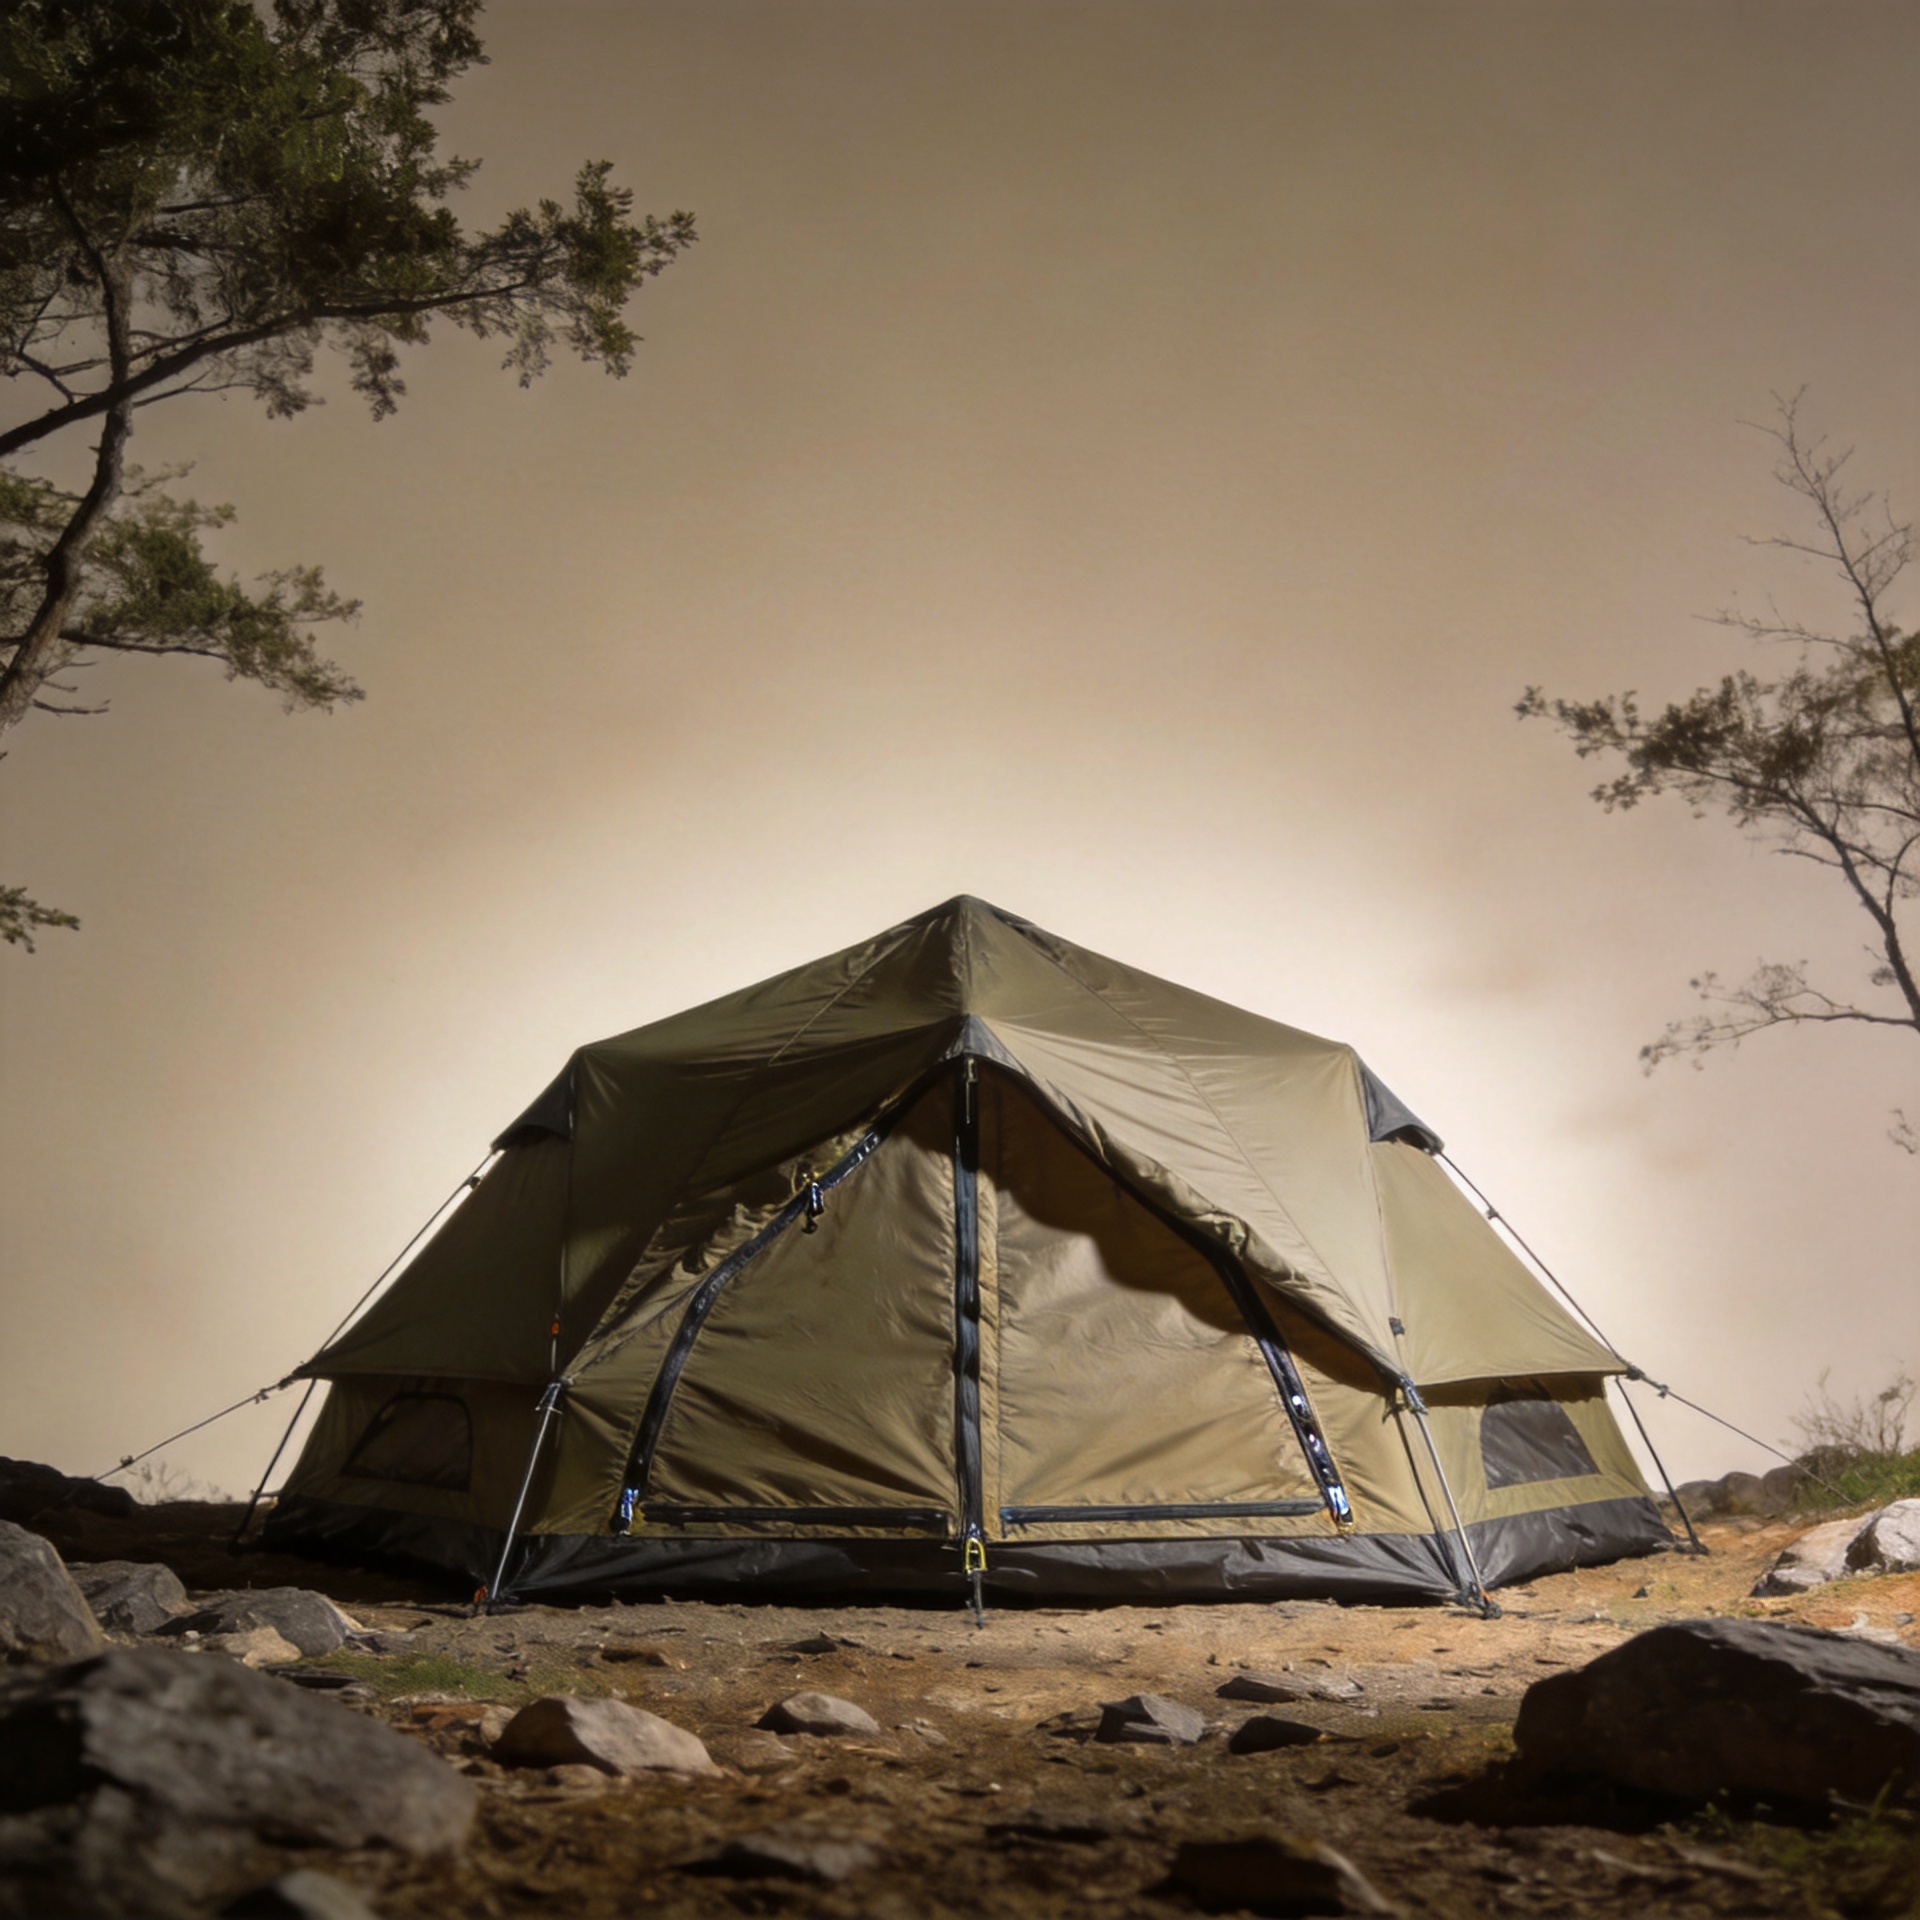
Durable outdoor tents use several layers of defense. Look at the rainfly coverage, seam construction, bathtub-style floor, door overlap, guy-out points, and the way the fly directs water clear of openings. A water-resistance number may be useful, but it does not explain how seams, zippers, tension, or repeated abrasion will behave in use. Ask how the seams are finished, where water can pool, and whether the floor material suits the ground conditions you expect.
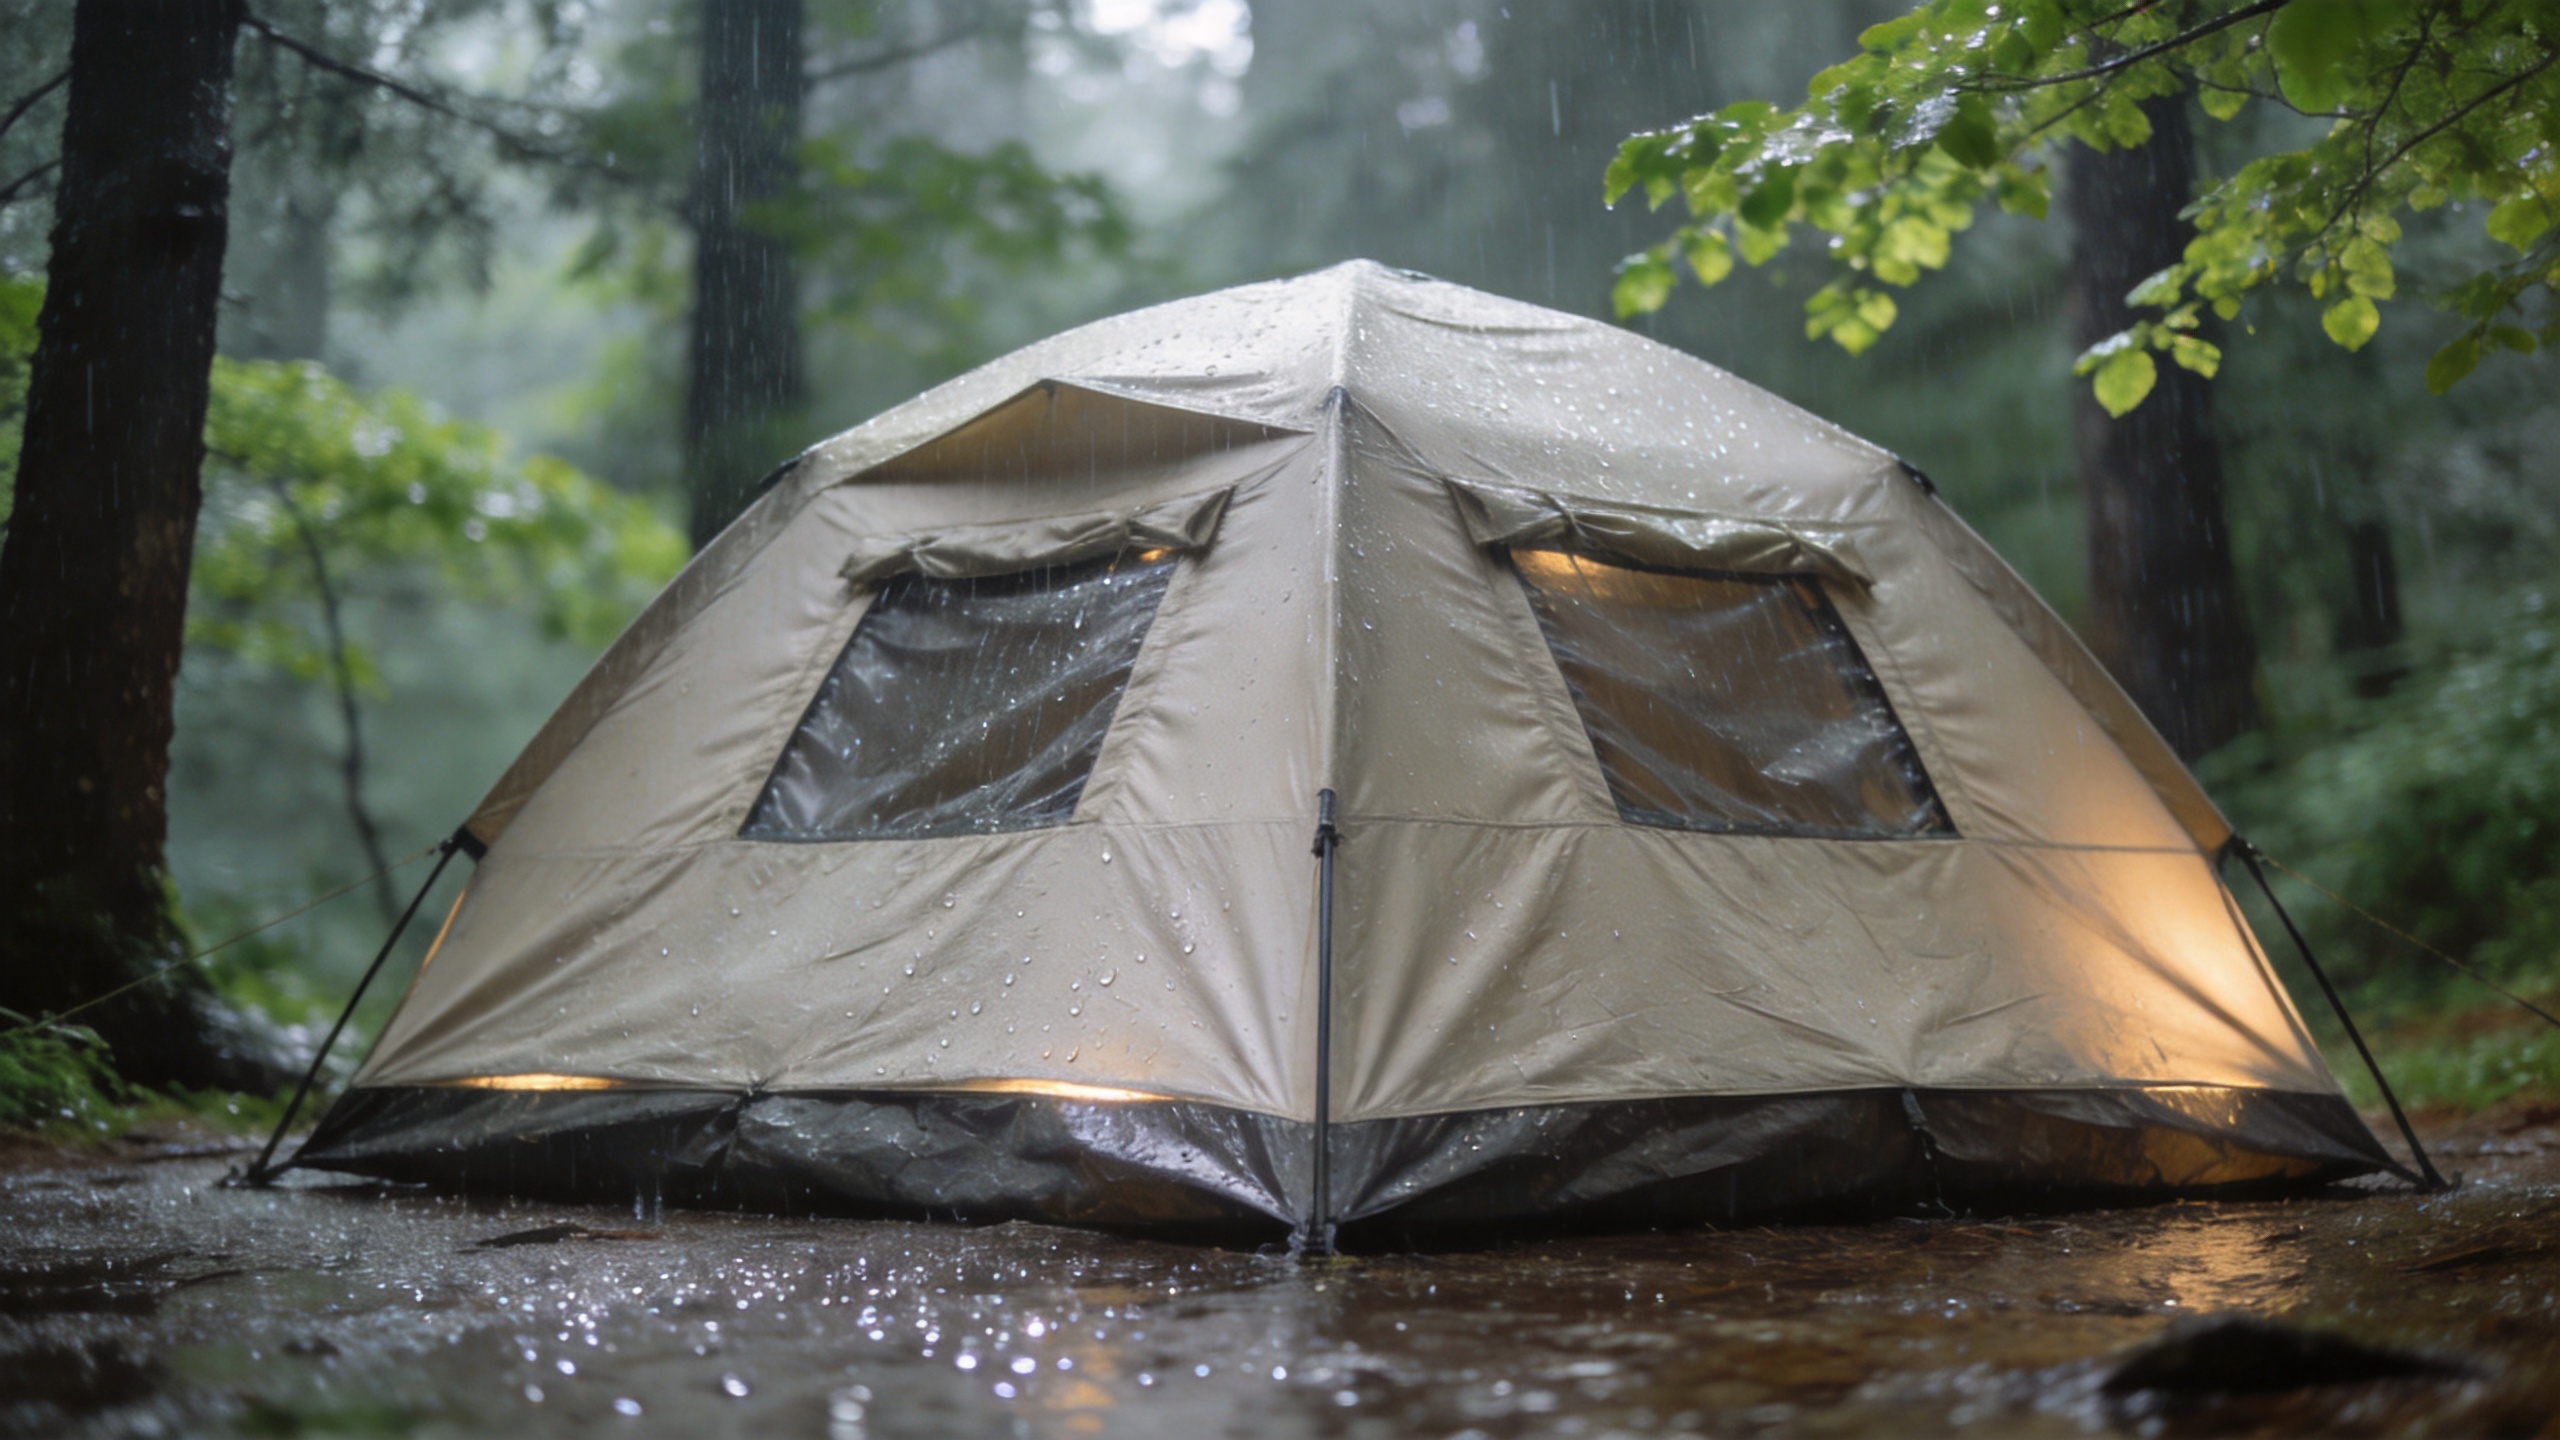
Fabric also deserves a broader view. Ultraviolet exposure, abrasion, dirt, and repeated folding can gradually affect textiles and coatings. If your outdoor tents will stay pitched for extended periods, inspect the care guidance and ask whether replacement parts, seam-sealing advice, or compatible repair materials are available. A slightly lighter tent that is cared for and repairable may be a sounder long-term choice than a heavier one with no practical support path.
Ventilation matters even when the weather turns cold
Rain protection and interior comfort are related but not identical. When warm, moist air meets a cold tent surface, condensation can form. That is why outdoor tents intended for variable weather need adjustable vents that can remain useful when the fly is deployed. Mesh panels alone are not enough if they must be closed whenever it rains.
Check for high and low vent positions, protected openings, and two-way doors that let you tune airflow. During a damp trip, keep wet boots and rain layers out of the sleeping area where practical, then use the tent’s venting options early rather than waiting for moisture to build. This is not a promise that condensation disappears; it is a more realistic way to reduce a predictable comfort issue.
Examine poles, hardware, and stress points
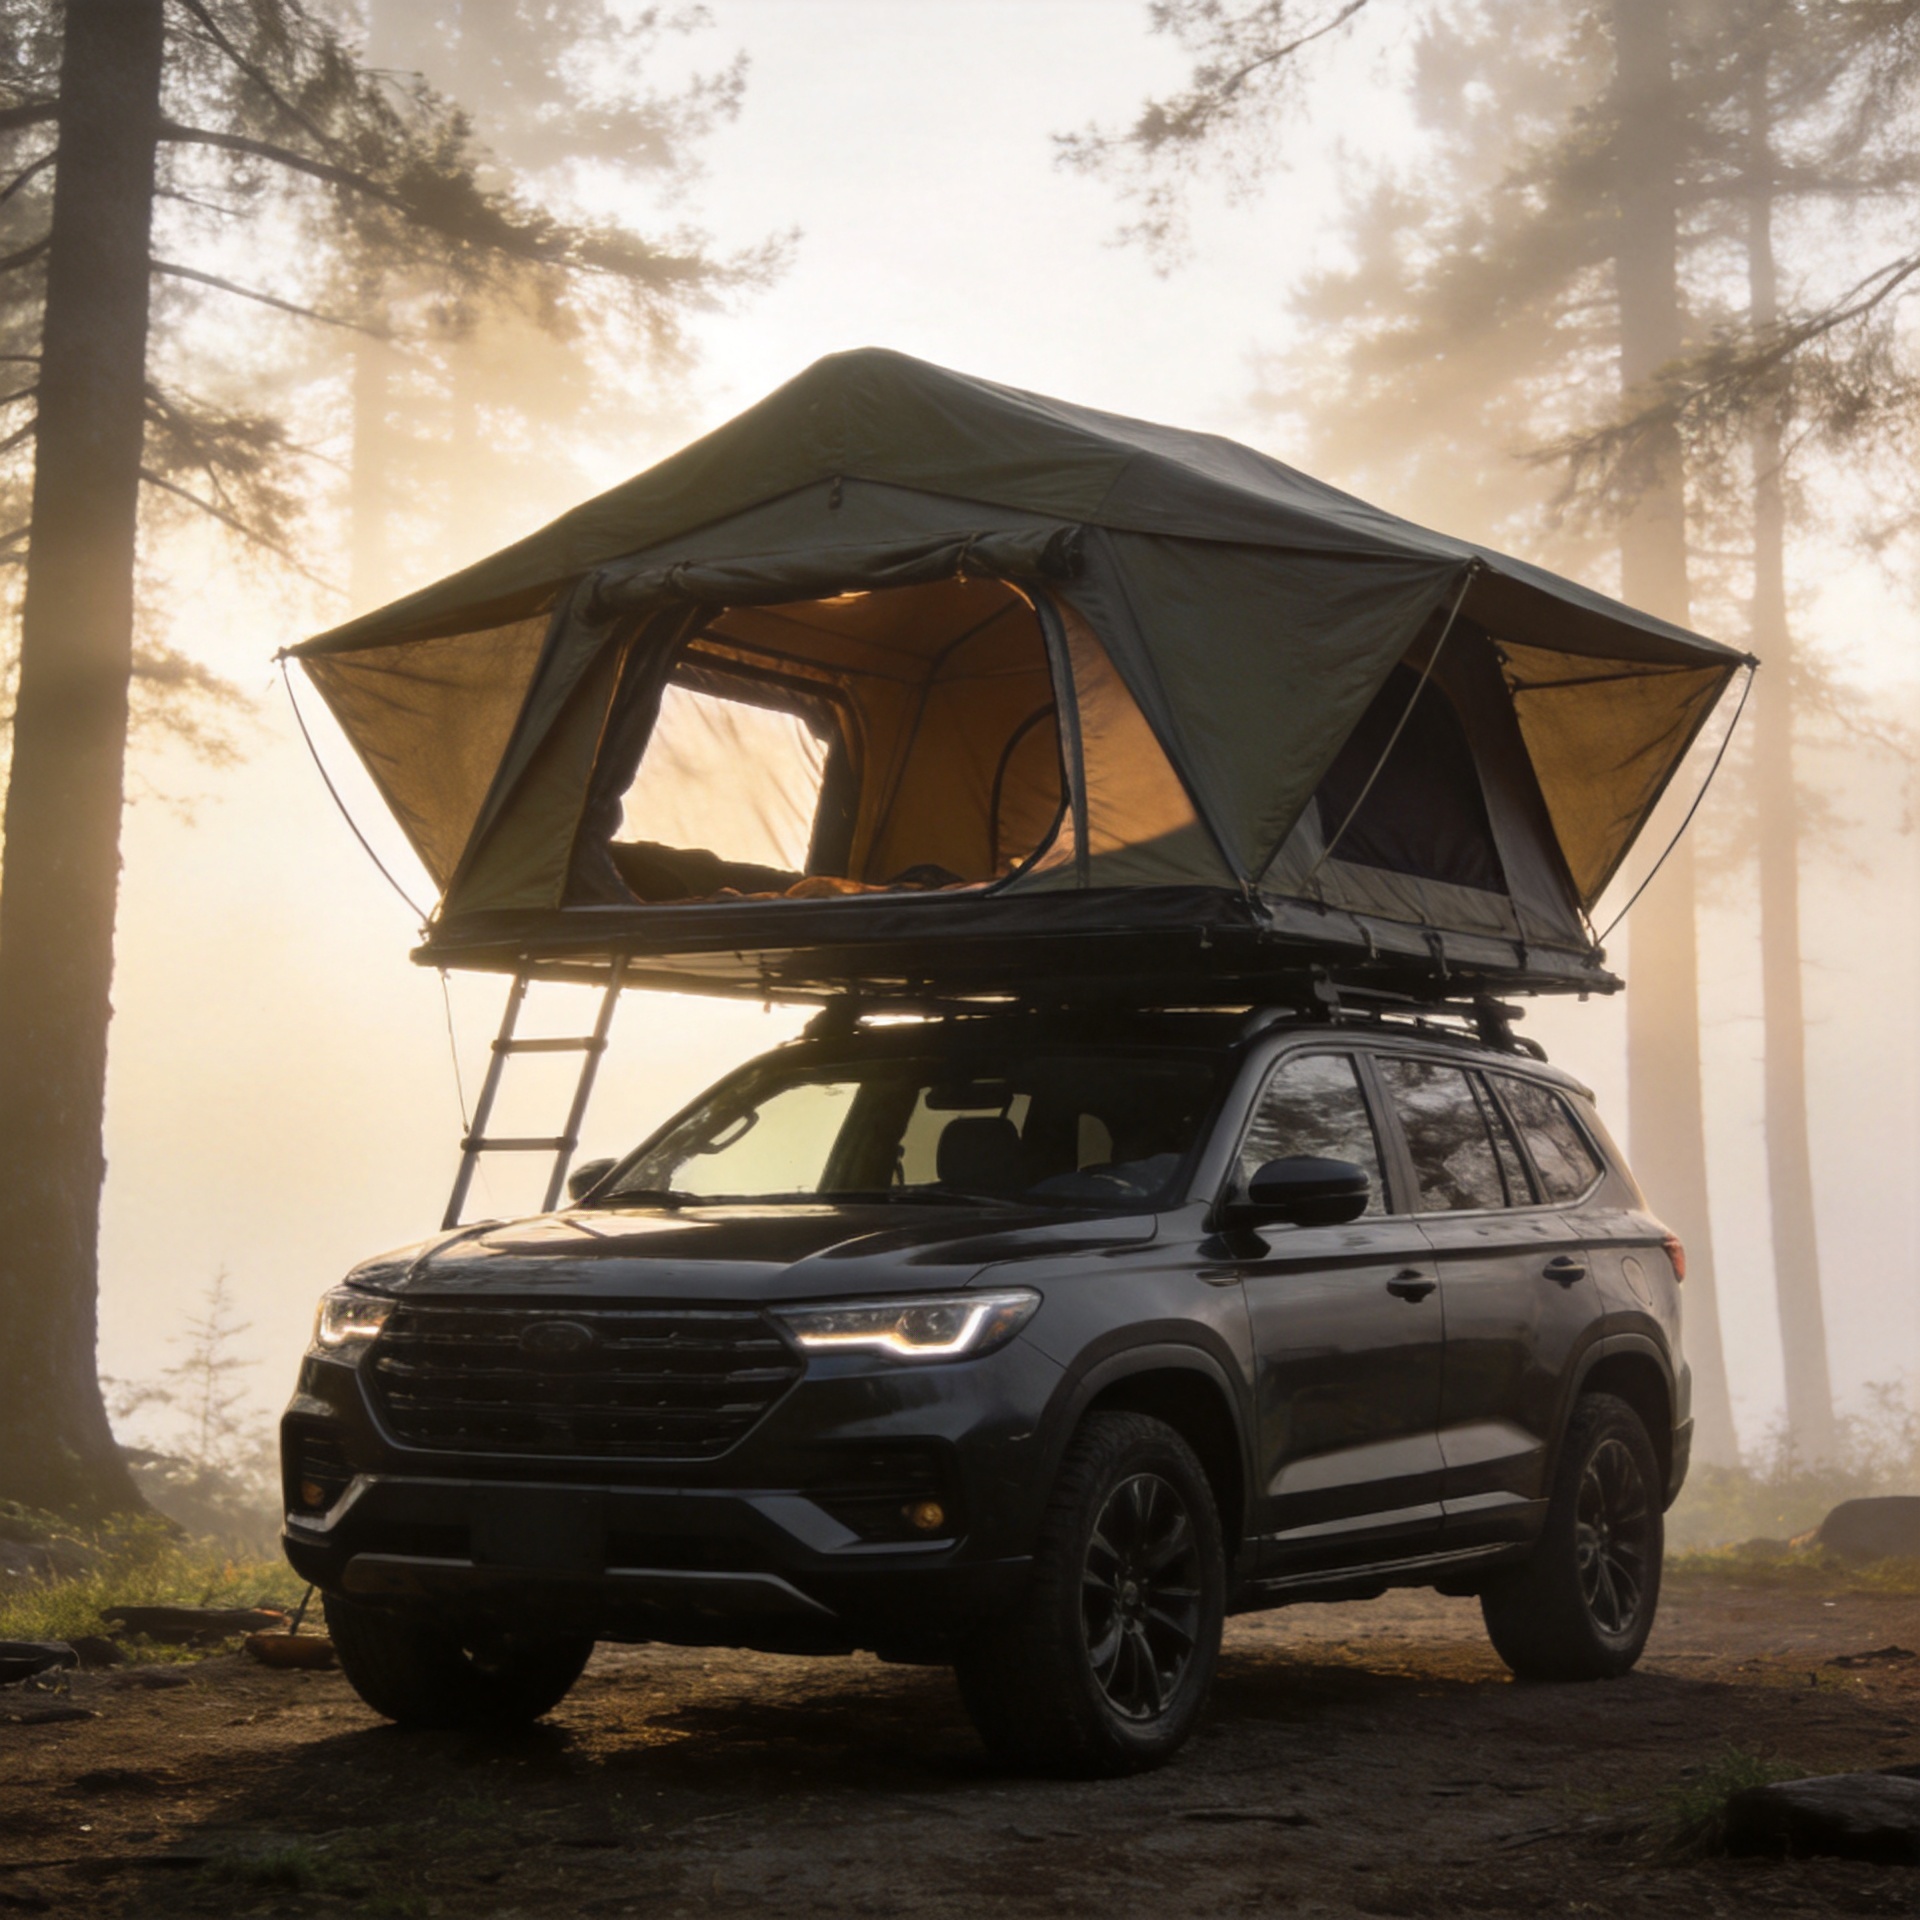
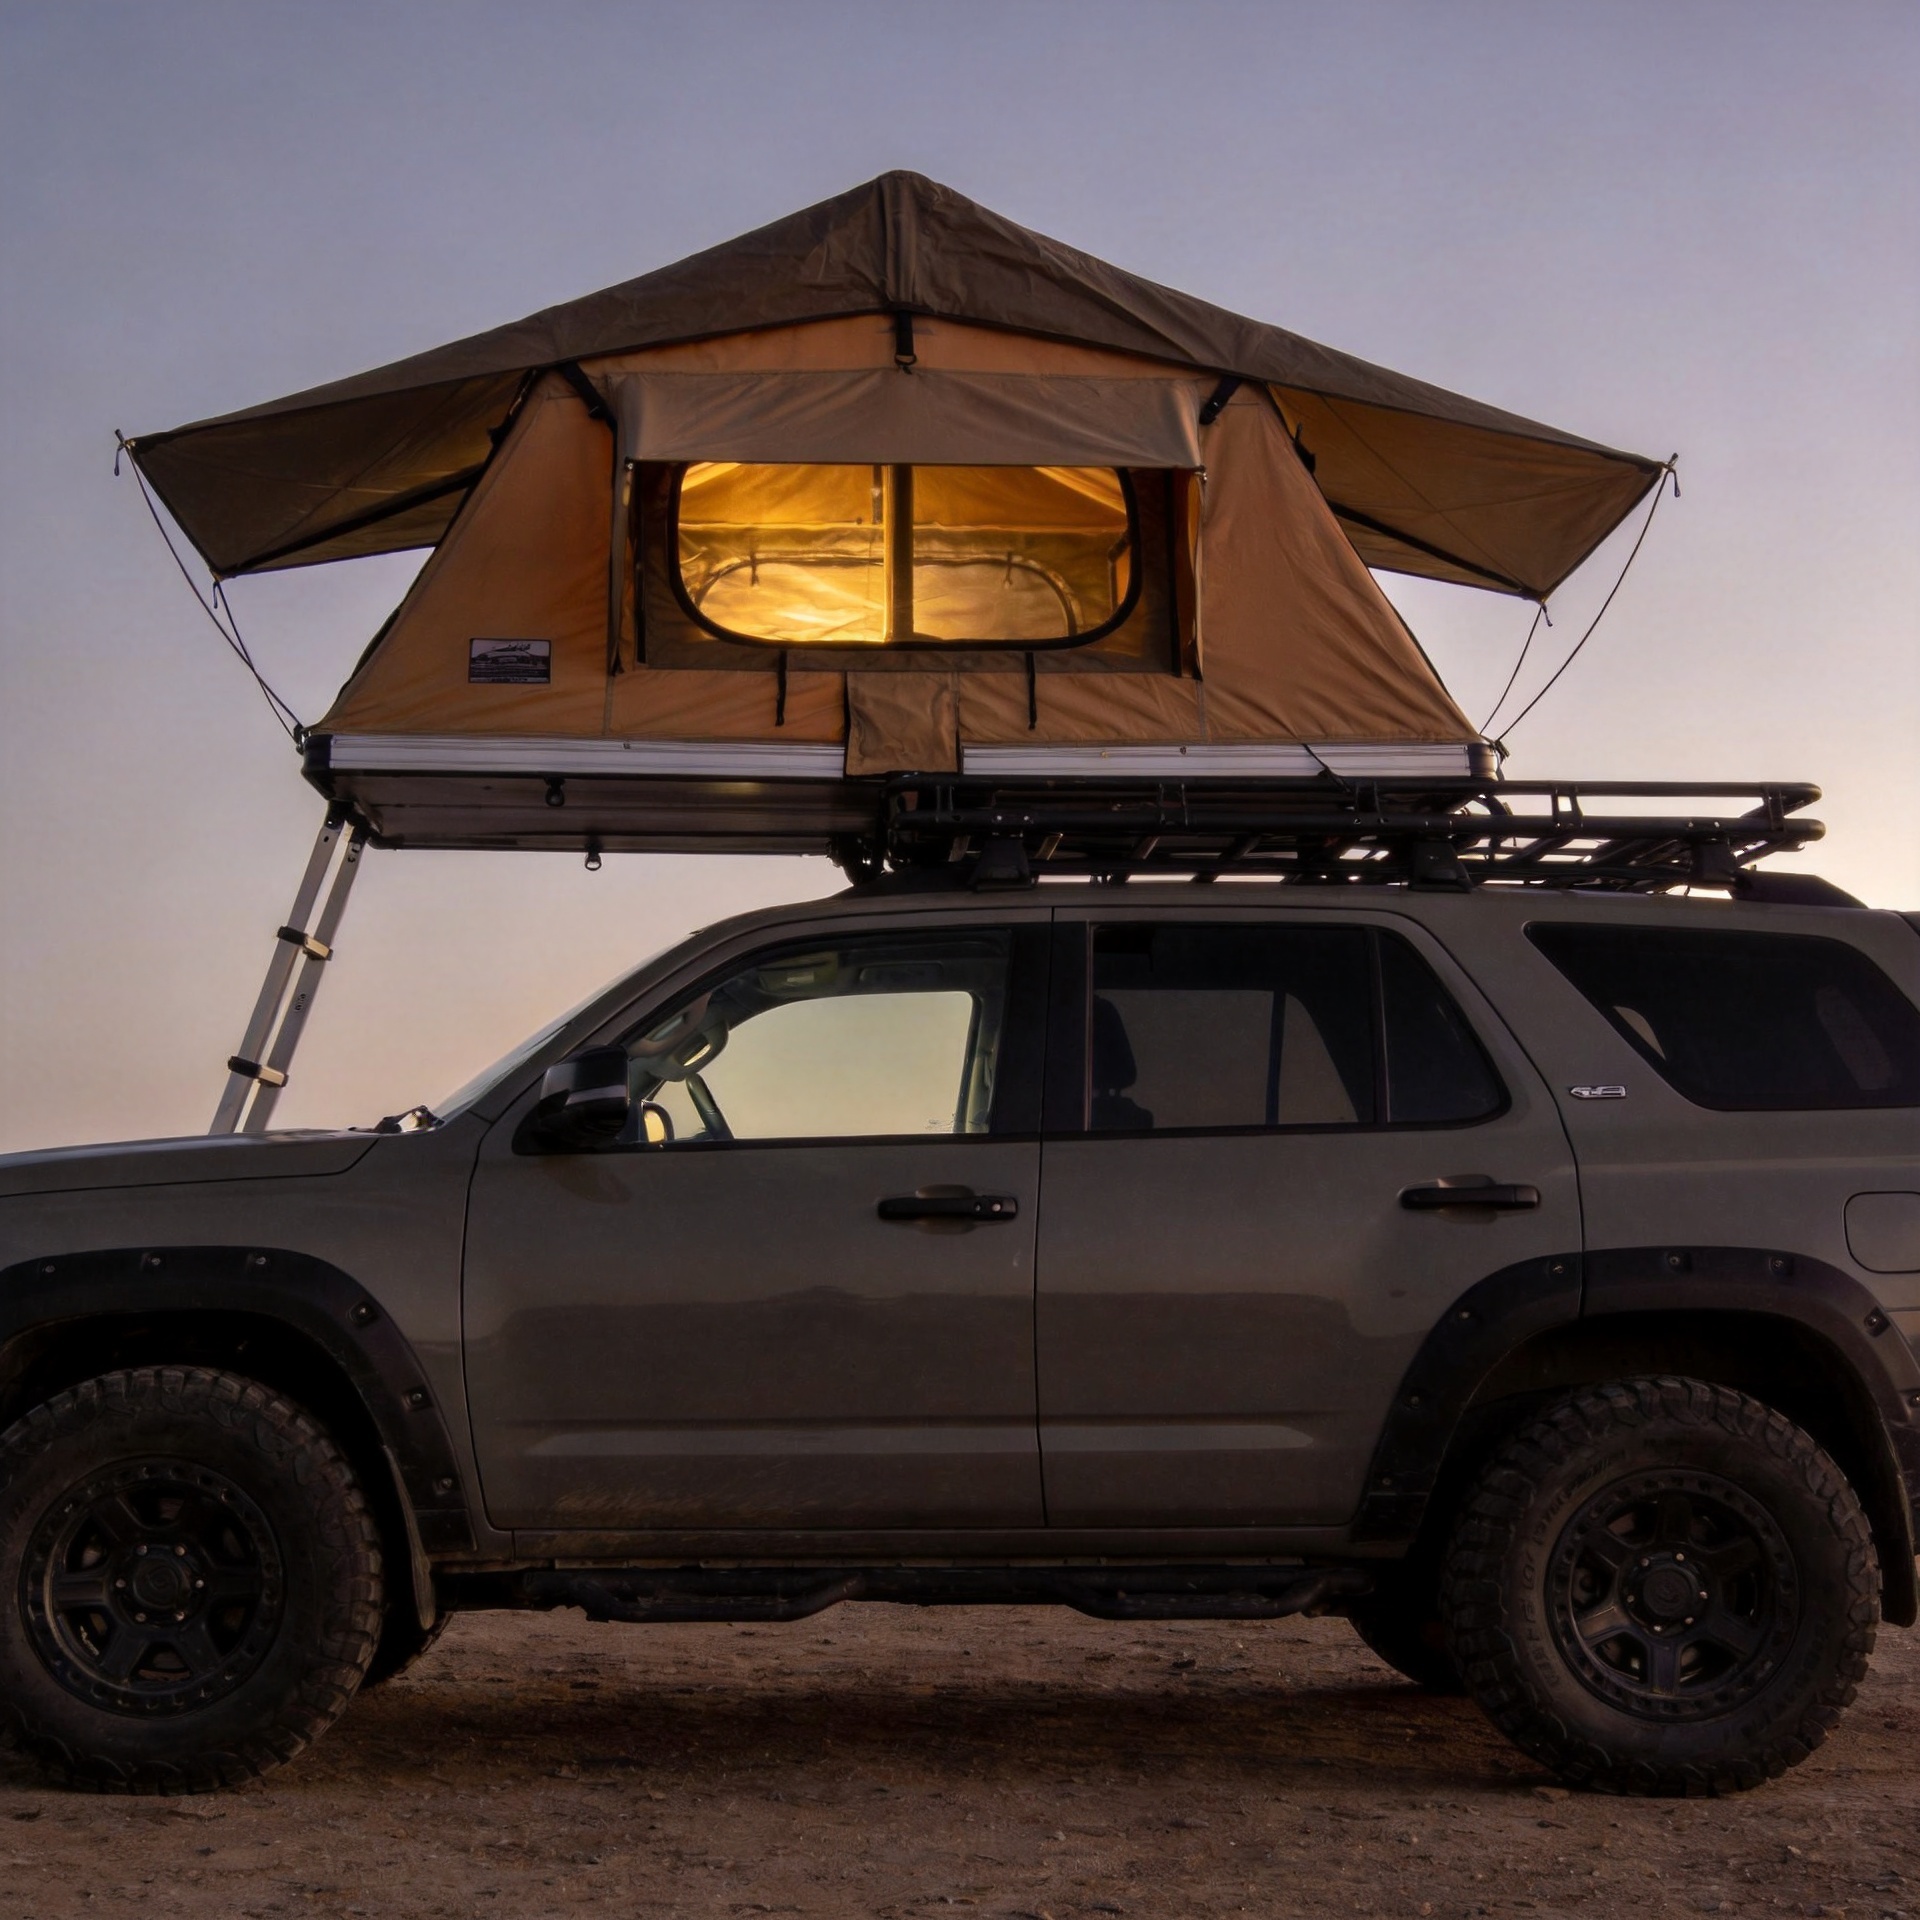
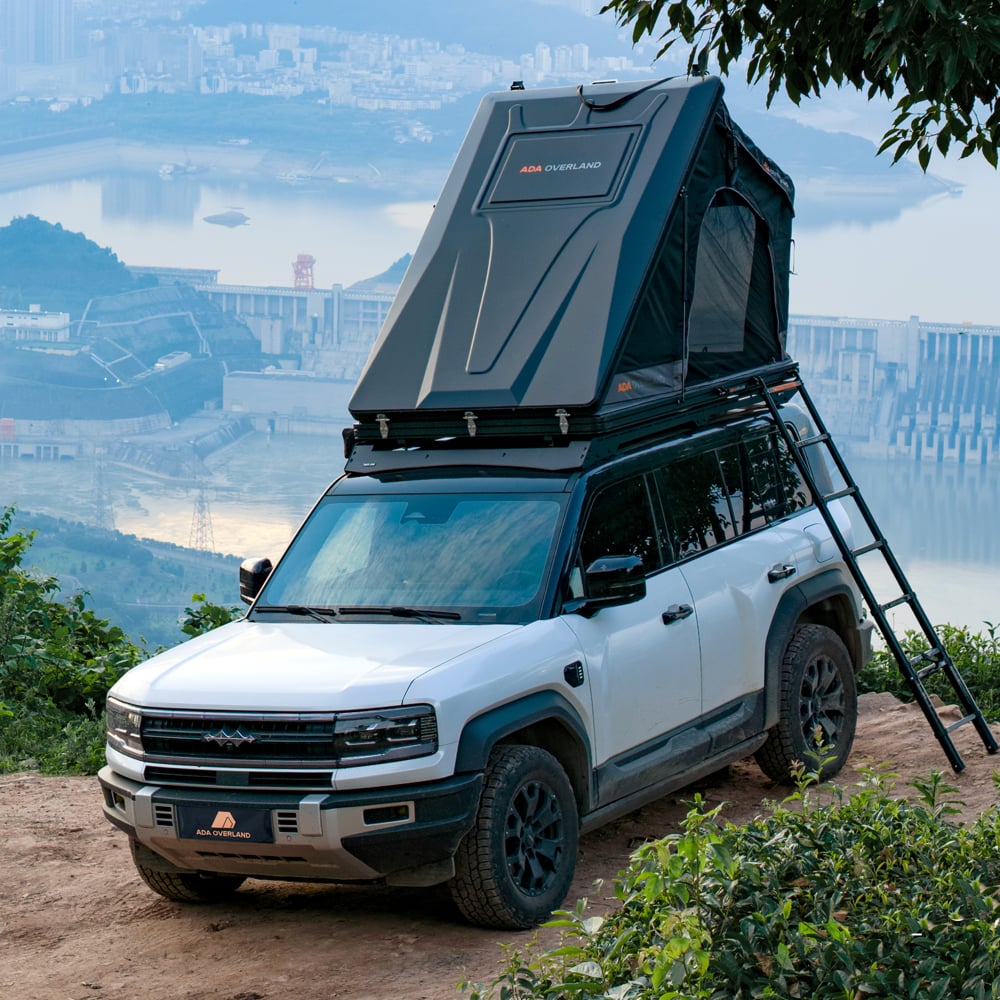
The durability of outdoor tents often shows first at the connection points. Evaluate pole sections, hubs, grommets, clips, zipper pulls, ladder or mounting hardware where applicable, and the reinforcement around guy-out points. These parts transfer wind loads into the tent body. Clean stitching, reinforced patches, sensible pole routing, and accessible replacement components are usually more useful signals than a vague “heavy-duty” label.
For a visual inspection, pitch the tent if possible. Open and close every door, tension the fly, locate the vents, and imagine doing the same job with cold hands. Notice whether the fabric rubs sharply at corners or whether a zipper is likely to be strained when the tent is under tension. Repeated setup is where small design decisions become visible.
Balance insulation, weight, and space
It is tempting to assume that heavier outdoor tents are automatically more durable. Weight can reflect stronger materials, but it can also reflect a larger footprint, bulkier hardware, or extra features that do not suit your travel style. Likewise, more fabric can reduce drafts while making ventilation and pack-down management more demanding. Compare weight against the capacity of your vehicle, your ability to carry it, and how frequently you will move camp.
For cold conditions, consider how the design accommodates a warmer sleep system, dry gear, and safe airflow. For hot or humid conditions, prioritize shade, cross-ventilation, and an interior layout that does not press sleeping bags against tent walls. The right outdoor tents make those compromises visible before purchase.
Assess setup, anchoring, and maintenance before buying
A durable tent is only useful when it can be correctly deployed. Choose outdoor tents with an anchoring plan suited to the ground you use: stakes, guylines, attachment points, and clear tensioning steps. Confirm what is included and what needs to be selected separately for sand, rocky soil, or high-wind locations. Do not rely on a tent alone in severe weather; campsite choice and responsible anchoring remain part of the system.
Then plan for care. Dry the shelter before long-term storage, remove grit from zippers and pole joints, inspect seam tape and coatings periodically, and address small holes before they grow. Ask a supplier which spares can be ordered and whether its quality-control process checks seams, hardware, and batch consistency. For B2B buyers, sourcing experience, documented inspection practices, and the ability to discuss customization matter more than a single sample’s appearance.
A practical comparison checklist
| Area | What to check | Why it matters |
|---|---|---|
| Rain management | Fly coverage, seams, floor, door overlaps | Helps assess where water may enter under sustained rain. |
| Airflow | Protected high and low vents, adjustable doors | Supports moisture management across changing temperatures. |
| Structure | Poles, hubs, guy-out reinforcements, hardware | Shows how wind loads move through the shelter. |
| Daily use | Pitching sequence, zipper access, storage layout | Reveals whether the tent will be used and maintained correctly. |
| After-sales support | Repair materials, spare components, care guidance | Can extend the usable life of outdoor tents. |
Make the final decision on fit, not hype
The most suitable outdoor tents are the ones whose weather system, structure, ventilation, and maintenance needs align with your real trips. Narrow the list to two or three candidates, compare the same criteria for each, and request clear answers about materials, construction, care, and parts. For suppliers serving global outdoor markets, ADA OVERLAND’s long-term focus on camping gear and OEM/ODM development can be relevant when a buyer needs to discuss specifications and quality expectations in detail.
When the comparison is complete, choosing durable outdoor tents means accepting trade-offs deliberately. A well-matched shelter will not remove the need for sound campsite selection or routine care, but it can give you a more dependable starting point through changing seasons.

 Hot News