EN
EN


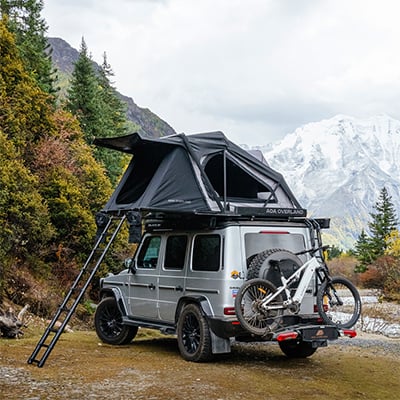
Автокөлікке төбесіндегі шатырды орнату қаншалықты оңай?
Жолда, шатырлы үйшікпен демалыс өткізгеннен кейін, ешкім сізге алдын ала айтпайды: сіздің көлігіңіздің көлденең таяқшаларының орнатылуы үйшікті орнатуға кететін уақытты — 20 минут немесе 2 сағат — анықтайды. Бұл көрсеткіш басқа техникалық сипаттамаларға қарағанда маңыздырақ. Бұл нұсқаулықтың соңында сіз үйшікті сатып алу алдында тексеруге тиісті нәрселерді, нақты қажет болатын құралдарды және бірінші рет орнатуды қателеспей, яғни үйшіктің сыйласуына байланысты қателер жібермей орындау әдістерін білетін боласыз.
Қысқаша жауап: автомобильге шатырлы үйшікті орнату шынымен бір немесе екі адам үшін орындалатын іс-әрекет. Бірінші рет орнату әдетте барлық қажетті фурнитура қолда болған кезде 30 минуттан кем уақыт алады. Бірнеше рет қайталанғаннан кейін осы процесті 10 минуттан кем уақытта орындауға болады. Маңызды сұрақ — бұл қанша уақыт алады емес, ал сіздің көлігіңіз бен шатыр жүйесі орнатуды бастамас бұрын дұрыс дайындалған ба.
Сізге бастамас бұрын қажеттілер
Shanyraqqa uy ornatp aldyn, eki narsanyn' tuwrilygyn tekserin': avtomobilinizdyn' dinamikalyq shanyraq juktylygynyn' reytingi menen kross-barlarynyzdyn' uyqysy. Bu eki faktor ornatu dyn' qauip-siz bolatynyn' da, orynalysu onsha qylmyz emes bolatynyn' da aniqtaydy; ya da sizge torqytan qatygylyqqa tusemiz, olardy kushtyn' qanday da derecesi shyngaralmaydy.
Shanyraqqa uy u'shin ma'n'gy dynamikalyq juktylyq reytingi - bul avtomobil qozg'alysynda shanyraqqa qanshayda auyrlyq koshiruge bolatynyn' kors'etedi; bu kosekshi avtomobiller menen SUV-lerde zhaqshylyq 75 kg menen 100 kg arasynda bolady, biraq avtomobilinyn' markasy menen modeline qaraip ozi o'zgeredi. O'zine tiyisli reytingti tekseru ushin avtomobilinizdyn' iye manysyndagy qoldanysy qoldanysy qoldanysy ya da ishkanasynyq web-saytyna baryp tekserin'. Qyzyq, biraq jiyli kездесетин ornatu qatesi - kross-barlarynyzdyn' uyga ornatylgan statikalyq juktylygyn' qoldanuyna qaramastan, avtomobilinizdyn' shanyraq quramysyna tiyisli dynamikalyq juktylyq reytingin teksermey qoyu. Netyjede uzaq merzimde shanyraq deformatsiyalanady, ony duzeltu qylyq menen qymbattyn.
Сонда сіз өзіңіздің кроссбарларыңыздың жұмыс істеуге арналғанын қалай білесіз — қағазда емес, ұзақ мерзімді автокөлік жолында нақты жүктеме кезінде? Кроссбар өндірушісінің көрсеткен динамикалық жүктеме рейтингін (тек статикалық көрсеткіш емес) тексеріңіз және оны матрац кіретін жалпы салмағы бар төбесіндегі палатканың салмағымен салыстырыңыз.
Көптеген төбесіндегі палаткаларды орнату үшін екі кроссбар қажет. Кроссбарлардың арақашықтығы палатканың орнату рейкісінің талаптарына сай болуы керек — көптеген палаткалар арасындағы минималды және максималды арақашықтықты көрсетеді. Тапсырыс бермес бұрын өзіңіздің бар кроссбарларыңызды немесе төбе рейкіңізде орналасқан орындарды өлшеңіз.
1-қадам: Құрамдас бөлшектерді орналастыру
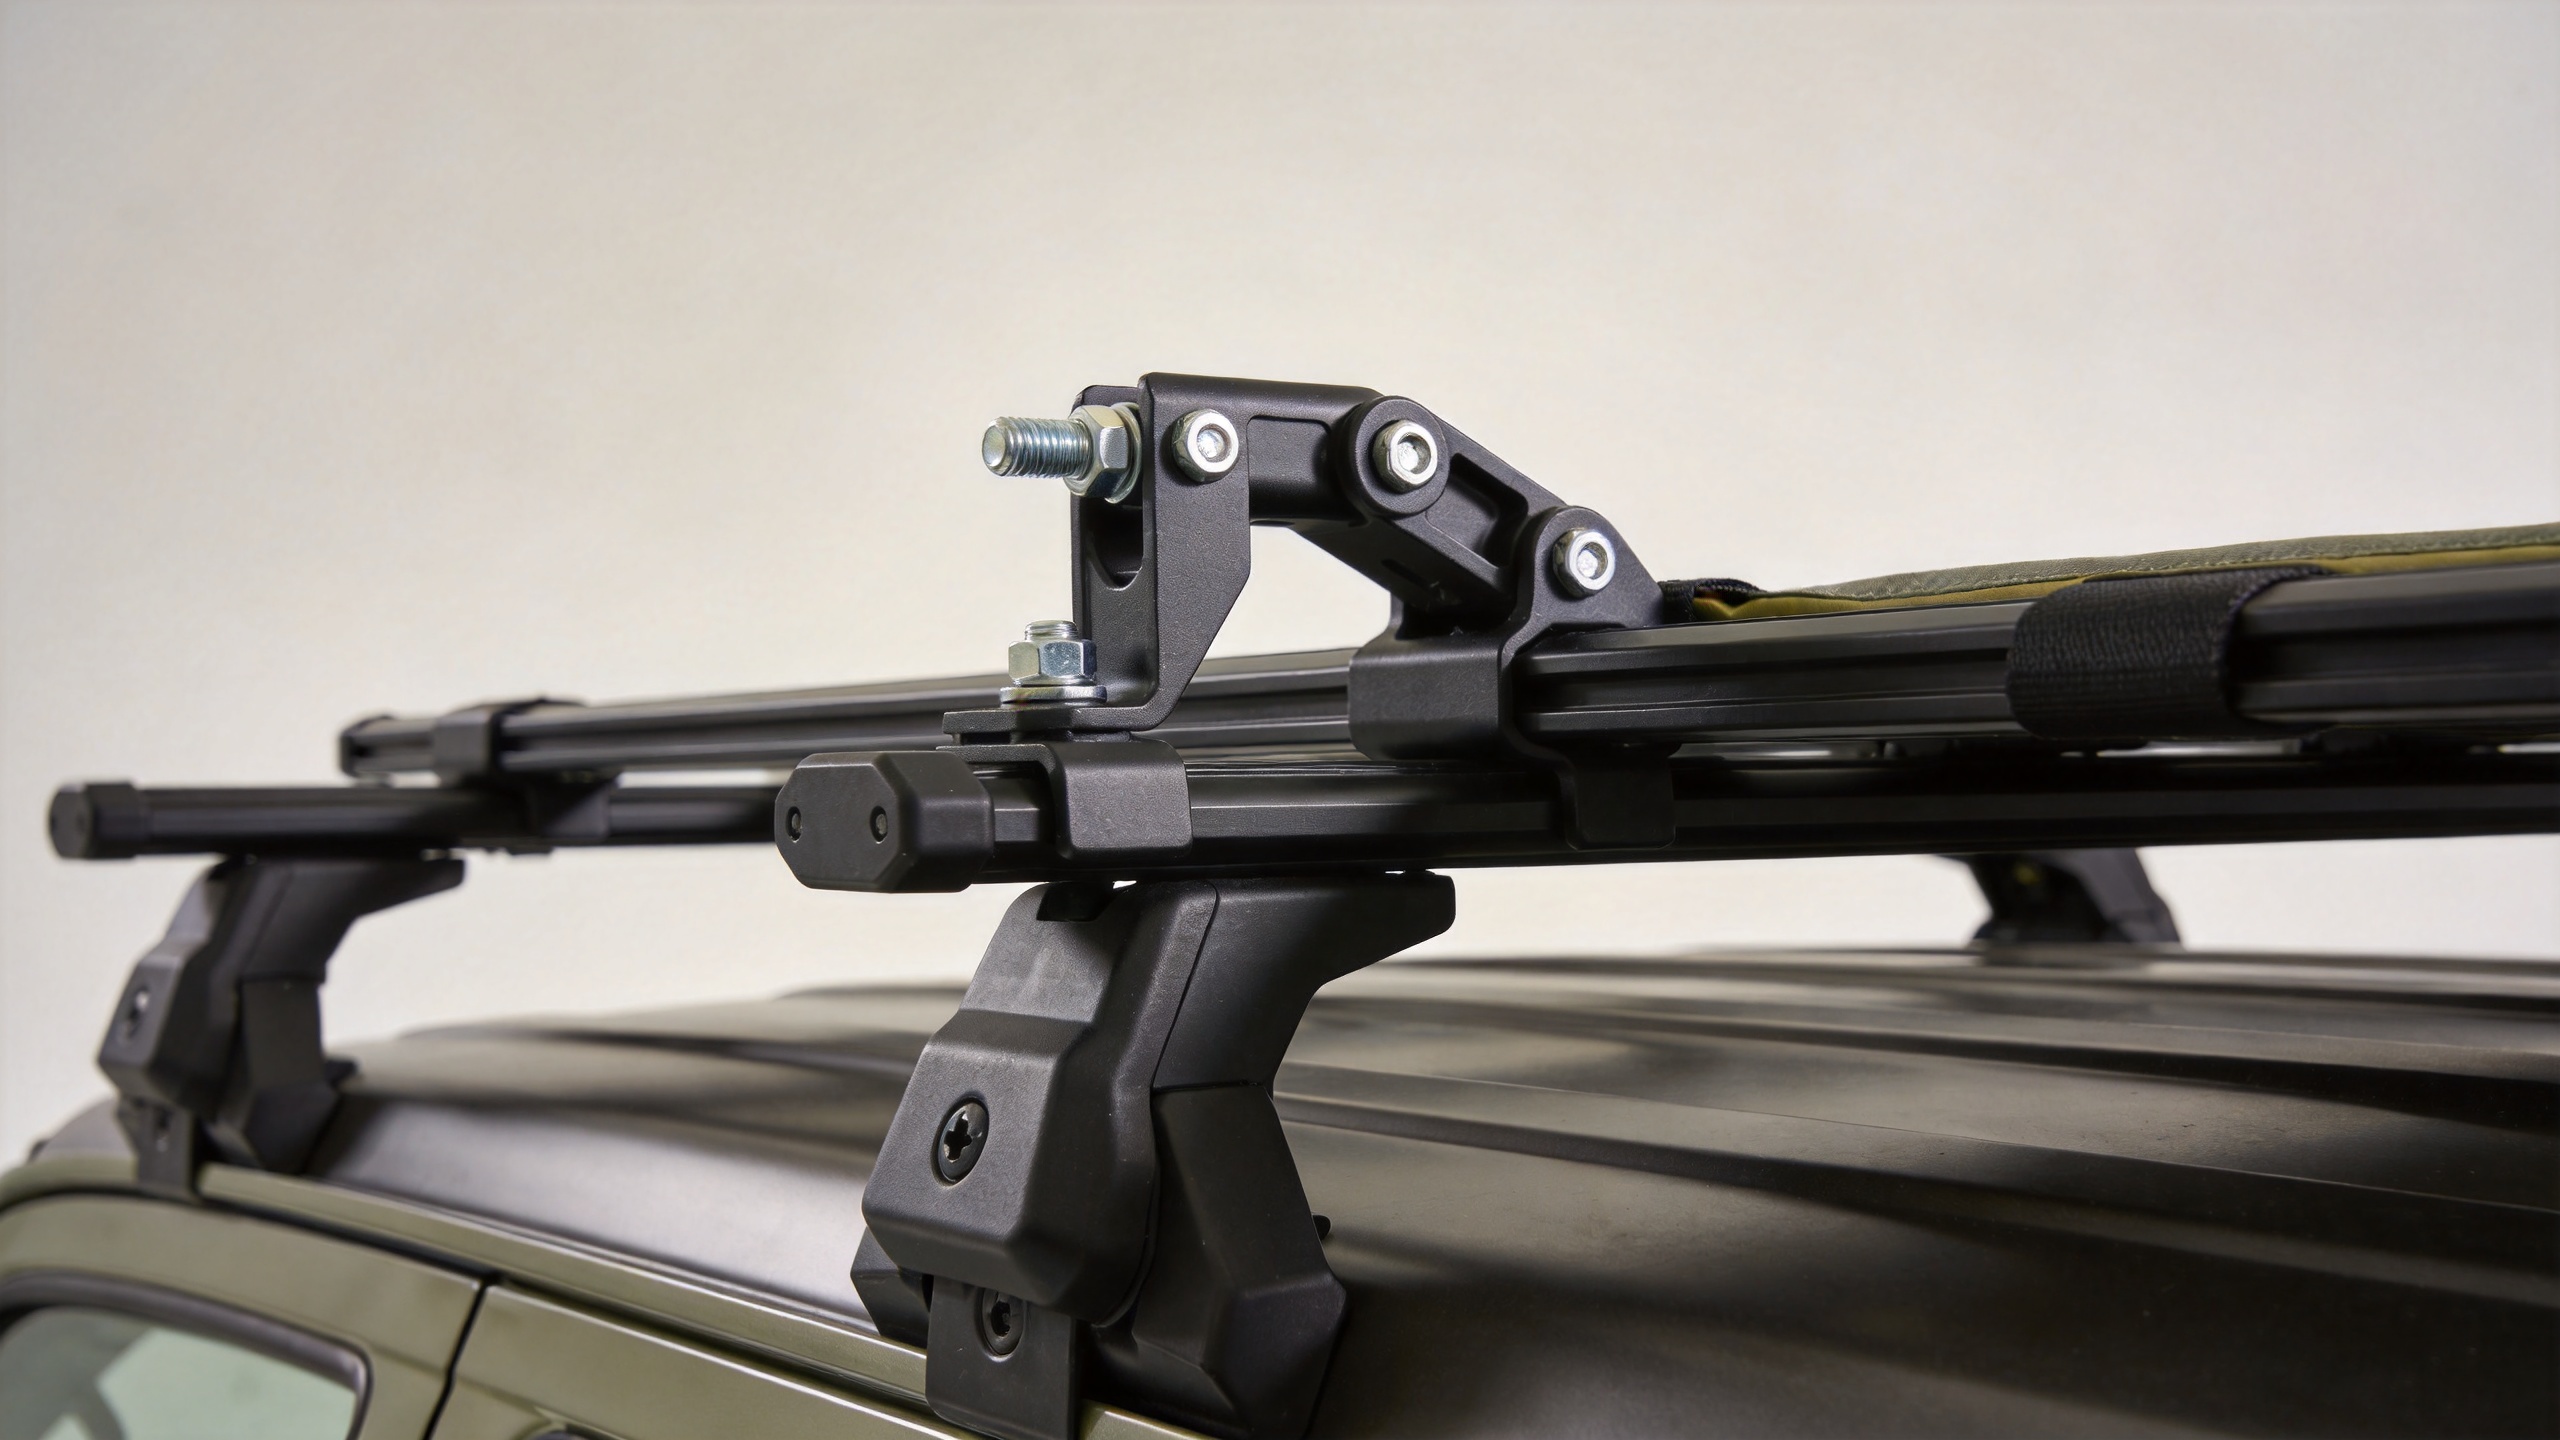
Көтеруге әрекет етпес бұрын, төбенің үстіндегі шатырды толығымен ашу керек. Көптеген модельдер — әсіресе қатты қабықты дизайндар — орнатуға арналған кронштейндер, болттар және моменттік көрсеткішпен келеді. Шатырды орнатуға дейін барлық заттарды таратып, орнату құрылғысын анықтаңыз. Моменттік кілтің болуы қосымша әрекетке құнды: орнату болттарын өндірушінің көрсеткіші бойынша, сезім бойынша ғана бекітпеу керек.
Әдетте қажет болатын құралдар: моменттік кілт, метрлік гақтар жинағы, сатылы төбелік немесе екінші адам, сонымен қатар бірінші рет орнатқан кезде сіздің есіңізде емес, қолда ұстаған шатырдың орнату нұсқаулығы.
2-қадам: Шатырды көлденең таяқшаларға орналастыру
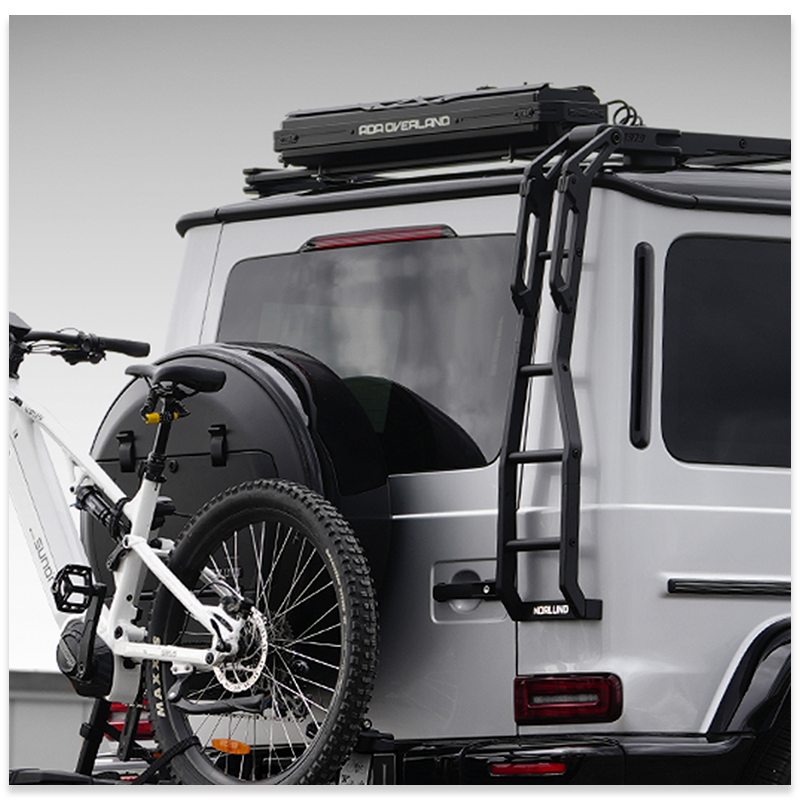
Екінші адамның көмегімен шатырды көлденең таяқшаларға көтеріңіз. Орнату рейкаларын көлденең таяқшалардың үстіне орналастырыңыз, сонда шатыр машина төбесінің ортасында, жақтары бойынша орталықта орналасады. Болттарды бекітпес бұрын орнату кронштейндерін рейкаларға сүйреп қойыңыз — көптеген жүйелер T-ойығы немесе U-тәрізді болт құрылғысын пайдаланады, олар рейка бойынша реттеуге мүмкіндік береді, ал соңғы бекіту тек одан кейін орындалады.
Тентті лақтырғышының шарниры таңдалған жағында болатындай етіп орналастырыңыз (әдетте көліктің артқы жағына немесе паркинг дағдыларыңызға байланысты жүргізушінің жағына қарай). Бұл болттарды қатайтқаннан кейін реттеуге қарағанда қазір реттеу оңайырақ.
3-қадам: Орнату кронштейндерін бекіту
Орнату болттарын кронштейндер мен көлденең таяқшалар арқылы өткізіп, көрсетілген моментке дейін қатайтыңыз — әдетте алюминий көлденең таяқшалар жүйелері үшін 8–14 Н·м аралығында, бірақ төбесіндегі тент өндірушісінің көрсеткен момент мәніне сүйену ұсынылады. Егер төрт орнату нүктесі болса, дөңгелек болттарды қатайтқандай, қиылысу тәртібінде жұмыс істеңіз, бұл тең қысым қолдануға көмектеседі.
Бекітілгеннен кейін тентті әр бағытқа қатты итеріп, қозғалыс болмауын тексеріңіз. Қозғалыс болмауы керек. Егер тент ығысса, кронштейннің отыруын қайта тексеріп, болттарды қайта қатайтыңыз.
4-қадам: Жер деңгейінде алғашқы ашу сынағы
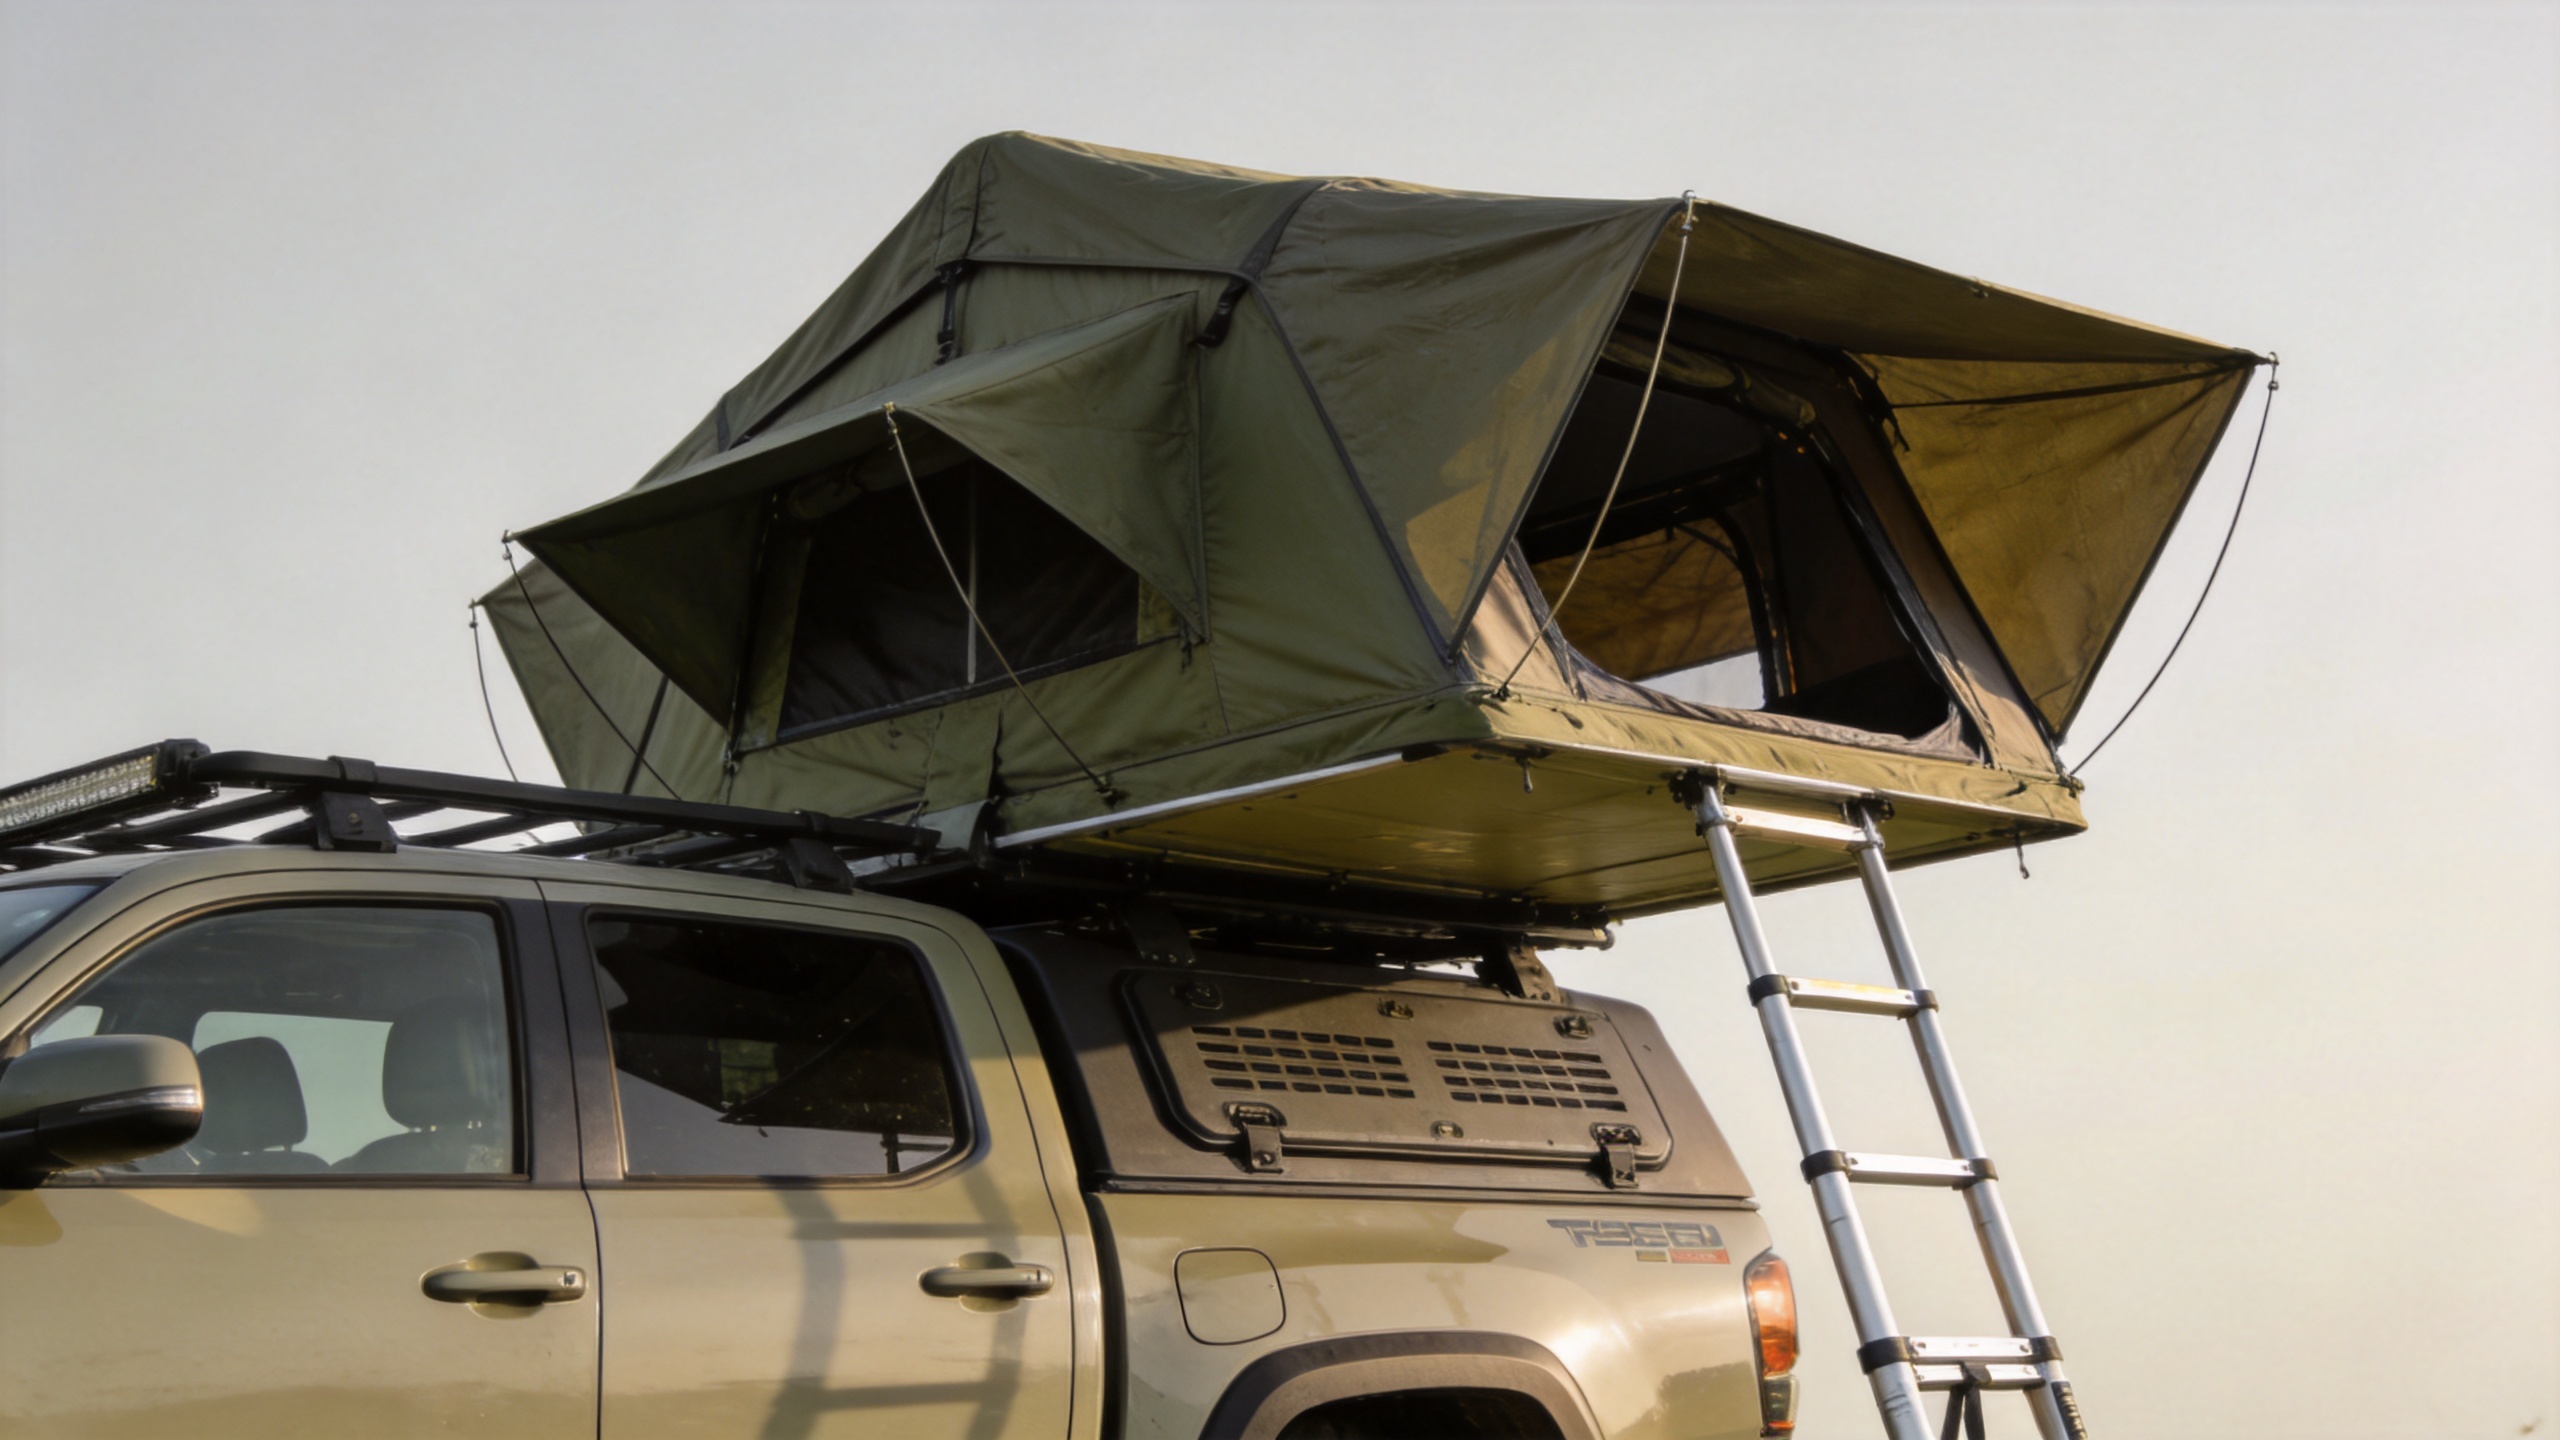
Жүріс басталмас бұрын, көлік тоқтап тұрған кезде кемек үстіндегі шатырды кемек рейкалары, антенналар немесе басқа қосымша заттардан кедергісіз толығымен ашылатынын және төбенің тірегі дұрыс созылатынын растау үшін кемек үстіндегі шатырды кемінде бір рет ашу керек. Қатты қабықты көтерілетін шатырлар стандартты жағдайларда 60 секундтан кем уақыт ішінде жайылады. Бірінші рет орындаған кезде уақыт көп кетеді, себебі сіз тіркемелердің ретін анықтауға тырысасыз (нұсқауларды оқу — болжам жасауға қарағанда қарапайым, бірақ екі минут уақыт жұмсағаныңыз өте маңызды).
Бірінші рет жүріс басталмас бұрын шатыр толығымен жабылатынын және тіркемелер дұрыс іске қосылатынын тексеріңіз. Автомагистральдағы жылдамдықта толығымен тіркелмеген кемек үстіндегі шатыр — ауыр қауп.
Болдырмауға болатын жалпы қателер
Şатыр үстіндегі шатырмен ұзақ арақашықтыққа шығуға дейін бірінші рет сатып алушылар көбінесе сатып алу кезінде шатырдың салмағына назар аударады. Бірнеше түн сыртта өткеннен кейін әрбір орнату шешімін анықтайтын негізгі фактор — бір адамның орнатуының оңайлығы болып табылады. Бұл — жеке саяхатшылар үшін қатты қабықты ашылатын шатырлардың танымалдығының бір бөлігі, өйткені олардың бастапқы құны жоғары болса да.
Бірінші рет шатыр үстіндегі шатырды орнатқанда қайталанатын бірнеше қателер:
- Динамикалық жүктемені тексеруден бас тарту. Автокөліктің шатырының техникалық сипаттамалары әртүрлі болады. Көлденең рейкалардың қаптамасында көрсетілген мән міндетті түрде қолданыстағы шектеу емес — автокөліктің өзінің рейтингі төмен болуы мүмкін.
- Көлденең рейкалардың арақашықтығы дұрыс емес. Рейкаларды шатырдың көрсетілген орнату ауқымынан тыс орналастыру рейканың бекіту нүктелеріне тән кернеу туғызады және шатыр қабығына ұзақ мерзімді зиян келтіруі мүмкін.
- Бекіту болттарын жеткілікті бұрғылау. Автомагистральдардағы жоғары жылдамдықтағы тербелістер спекификацияға сай бұрғыланбаған болттарды босатады. Бірінші 100 км саяхаттан кейін қайтадан тексеріңіз.
- Қозғалысқа шығар алдында ашу/жабу циклін сынау. Құлыптау мәселелерін қоңырау шақырған кезде шешу қараңғылықтағы лагерьге қарағанда үйдің алдындағы алаңда әлдеқайда оңай.
Тез анықтауға арналған орнату тексеру тізімі
| STEP | Әрекет | Жиі кететін қателер |
|---|---|---|
| 1 | Көліктің динамикалық жүк көтергіштігін растаңыз | Динамикалық емес, статикалық жүк көтергіштігін пайдалану |
| 2 | Крест-саяқтардың арасындағы қашықтықтың шатыр рейкасының техникалық сипаттамасына сәйкес келетінін тексеріңіз | Саяқтар белгіленген ауқымнан тыс орналасқан |
| 3 | Барлық құрылғыларды жайып, бұрғылау күшінің шамасын анықтаңыз | Бұрғылау күшінің шамасын ескермеу, сезім бойынша бұрғылау |
| 4 | Eki адаммен көтеріп, көтергіш төбені кроссбарларға орнатыңыз | Ауыр қатты қабықты моделдерді жалғыз көтеруге тырысу |
| 5 | Орнату скобаларын белгіленген шамаға дейін отырғызып, бекітіңіз | Торқы аз қолдану, теңсіз бекіту реті |
| 6 | Бірінші рет жүргізуден бұрын ашылу/жабылу циклын сынаңыз | Құлып қызметін сынауды өткізбеу |
| 7 | Бірінші 100 км жүргеннен кейін болт торқын қайта тексеріңіз | Бастапқы жүру кезіндегі тербелістен кейін торқыны қайта бекітпеу |
Төбе үсті палаткасын орнату техникалық тұрғыдан күрделі емес — бұл торқы кілті мен екі адамның ісі, механиктердің ісі емес. Палатканы сәтті орнатудың негізгі факторлары — алдын ала тексерулер: палатка қораптан шығарылмас бұрын көліктің динамикалық жүк көтергіштігін растау және кроссбарлардың арақашықтығын дәл есептеу. Қатты қабықты ашылатын палаткалар орнатылғаннан кейін жалпы алғанда орнатуға қарағанда жеңілірек — немесе, дәлірек айтсақ, бұл тек бірнеше жаттығу жасағаннан кейін дәл орнатылған кезде ғана дұрыс. Бірінші күні орнатуды дәл орындасаңыз, әрбір келесі кемпинг орнында сізге осы дәлдік мадақталады.
 Қызығушылық тудыратын жаңалықтар